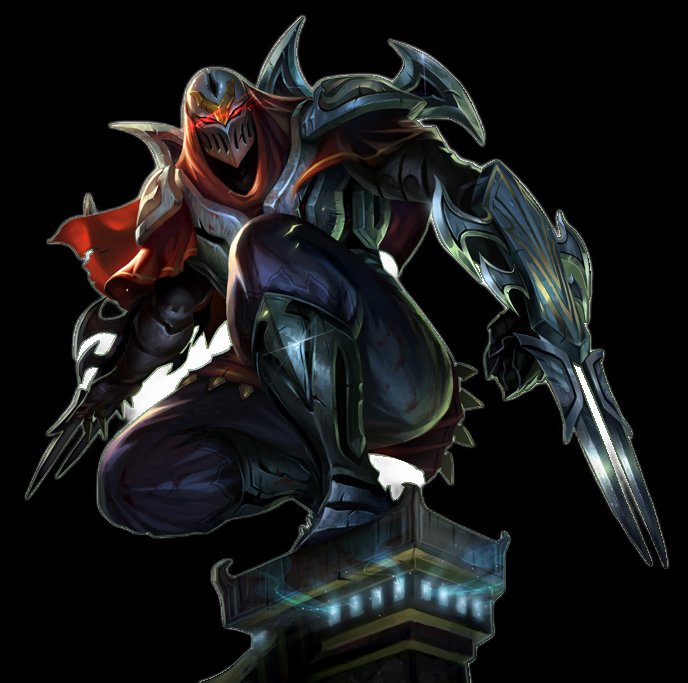
The Master of Shadows. Living Shadow positioning, Razor Shuriken double-hit combos, and Death Mark pop execute damage calculation.
Mid Lane Assassin · The Master of Shadows.
Razor Shuriken (Q)
Zed's Q ability, Razor Shuriken, is his primary damage tool. He throws his arm-blade in a line, dealing damage to all enemies hit. The ability has a relatively short cooldown of 5-6 seconds at max rank and costs minimal energy, making it Zed's go-to for poke and wave clear. Razor Shuriken deals reduced damage to subsequent targets, passing through minions and stopping only at the first champion hit when it comes to bonus damage.
The true power of Razor Shuriken comes from the double-hit mechanic. When both Zed and his Living Shadow cast Razor Shuriken at the same target, the damage stacks significantly, and the shadow's shuriken applies full damage rather than reduced. This double Q mechanic is the cornerstone of Zed's burst combo. Landing both shurikens on a squishy target in the mid-late game will take half their HP before the ultimate even pops.
Energy management with Q is critical. Razor Shuriken costs 60 energy at all ranks, and missing a Q leaves Zed with very little energy for his other abilities. Smart Zed players weave auto-attacks between Q casts to maximize damage without emptying their energy bar. At max rank with 40 ability haste, Q is on a roughly 3.5-second cooldown, letting Zed poke multiple times during a single fight.
Living Shadow (W)
Living Shadow is Zed's core outplay tool. He sends a shadow dash forward that lasts 5 seconds, mimicking his Q and E casts. Zed can reactivate W to swap positions with the shadow. The shadow deals 75% damage with mimicked abilities and applies 50% slow on E. Mastering shadow placement is what separates good Zed players from great ones.
The W-Q combo is Zed's bread and butter. Place the shadow at an angle where both the shadow's Q and Zed's Q hit the target simultaneously for maximum burst. Common shadow placements include behind the enemy (to block escape routes), at a 45-degree angle (to cover two dodge directions), or directly on top of the target (guaranteed double Q). Experienced Zed players also use W as a defensive tool — placing it preemptively before going in for a trade lets them escape unfavorable situations instantly.
Shadow management in lane is crucial. W has a 20-second cooldown at rank 1, and using it aggressively leaves Zed vulnerable to ganks for the entire duration. Smart players hold W until the enemy jungler shows on the map, then use it aggressively. Max rank W reduces the cooldown to 14 seconds, letting Zed play more actively in the mid-game.
Shadow Slash (E)
Shadow Slash is Zed's area-of-effect ability. Zed spins his blades, dealing physical damage to all nearby enemies. When cast through Living Shadow, the shadow's E also slows enemies by 50% for 1.5 seconds. This slow is essential for landing both shurikens — the shadow slow sets up the double Q perfectly. E also reduces W's cooldown by 2 seconds for each enemy champion hit, so hitting multi-man Es in teamfights lets Zed reposition more frequently.
In lane, E is Zed's primary trading tool. The short cooldown (4 seconds at max rank) and instant cast animation make it reliable for proccing Electrocute or First Strike. The E-auto trade pattern is safe and efficient: dash in with W, press E, auto-attack once, then swap back to the shadow before the enemy can respond. In teamfights, E is used to apply the shadow slow before Q, ensuring double shuriken accuracy against mobile targets.
Death Mark (R)
Death Mark is Zed's ultimate — he becomes untargetable and dashes to a target champion, marking them. After 3 seconds, the mark pops, dealing physical damage equal to 100% of all damage Zed dealt to the target during the mark duration (plus a base amount). This execute mechanic makes Death Mark one of the most satisfying abilities in League of Legends. The mark cannot be cleansed or removed by QSS — only Zhonya's Hourglass or similar invulnerability can prevent the pop damage.
The standard all-in combo with Death Mark is: R, wait 0.5 seconds, E, Q (both shurikens should hit due to the E slow), auto-attack, then W away or continue chasing. The 0.5-second wait after R is critical — it lets Zed appear behind the target (where they can't see his shadow) and gives the E slow time to land before the Q. Adding a Hydra active or Ignite during the mark duration increases the pop damage significantly. For more information on Zed mechanics and matchups, see the League of Legends Wikipedia page and the Zed page on LoL Fandom Wiki.
Combos and Laning Phase
Zed's laning phase revolves around energy management and hitting Qs. At level 1, farm with auto-attacks and use Q only when the enemy steps up for a last hit. Level 2 (Q+E) is a solid powerspike — a W-E-Q combo into Electrocute proc chunks most mid laners to 60% HP. Level 3 (all three basic abilities) is when Zed can look for solo kills, especially against immobile mages like Syndra or Xerath.
Level 6 is Zed's biggest spike. With Death Mark unlocked, the full combo (R-E-Q-auto-Ignite) kills most squishy targets at 70% HP. The key is hitting the double Q during the ultimate — if both shurikens connect, the target dies. If one misses, the target survives with low HP and Zed wastes his ult. Zed scales well into the mid-game but falls off slightly in the late game when enemies stack armor and Zhonya's. Split-pushing is often the best play in the late game, using W to escape if collapsed on.